Halloween Classics with Air Dry Clay
Make a Jack O Lantern with Air Dry Clay
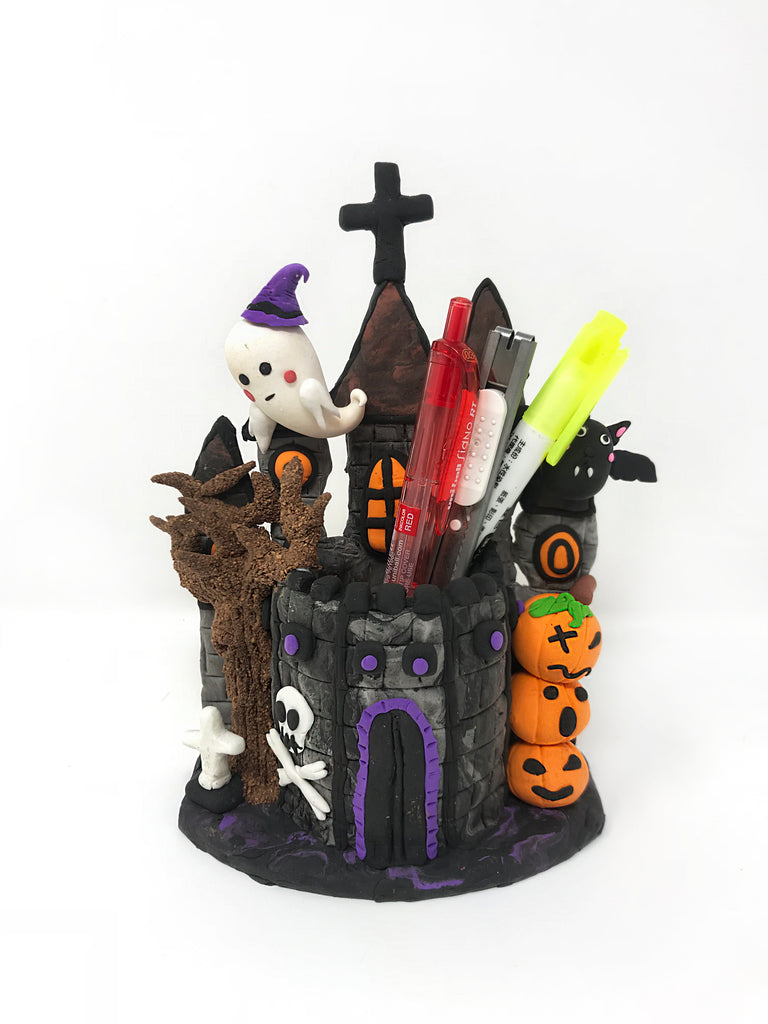
Did you know that jack o lanterns are supposedly the head of a cursed soul? Who knew! This October, as part of Clay House Art's Halloween Classics Series, our team will feature six classic Halloween monsters and show you step by step instructions on how to create your own spooky masterpiece using air dry clay.
Our third installment in the Halloween Festivities we will be featuring:
Jack O Lantern

Here's what you're going to need
Materials:
2 in 1 Light Clay (Black, White, Orange, Green, Brown)
Wood Circle Armature
Clay Tools
Procedure:
~Pro-tip - make all of the detail elements before placing on the background, once the clay sticks to the background changing out an element is more difficult
1. Take the orange clay and cover the armature until you cannot see the wood. Make sure you use enough clay so that your pumpkin is raised off of the armature. Add details with your clay tool.

2. Make two rounded triangles for Jack's eyes and a smaller triangle for a nose
3. Decorate the eyes with four white circles
4. Using your green clay, roll two thin pieces and twirl them to make vines
5. Using your white clay and black, make two small circles for the whites of its eyes and two small dots for the iris
6. With your brown clay make a small rectangle shape and score it with your clay tool to add texture
7. Roll two thin long strips of black clay. One for the mouth and the other for the stitches
8. Assemble and place your elements in order of the picture shown above onto the background
9. Optional: Glue a magnet or keychain to make a perfect Halloween Gift
Make sure to check out how to make our other Halloween Classic Monsters

← Older Post
Newer Post →